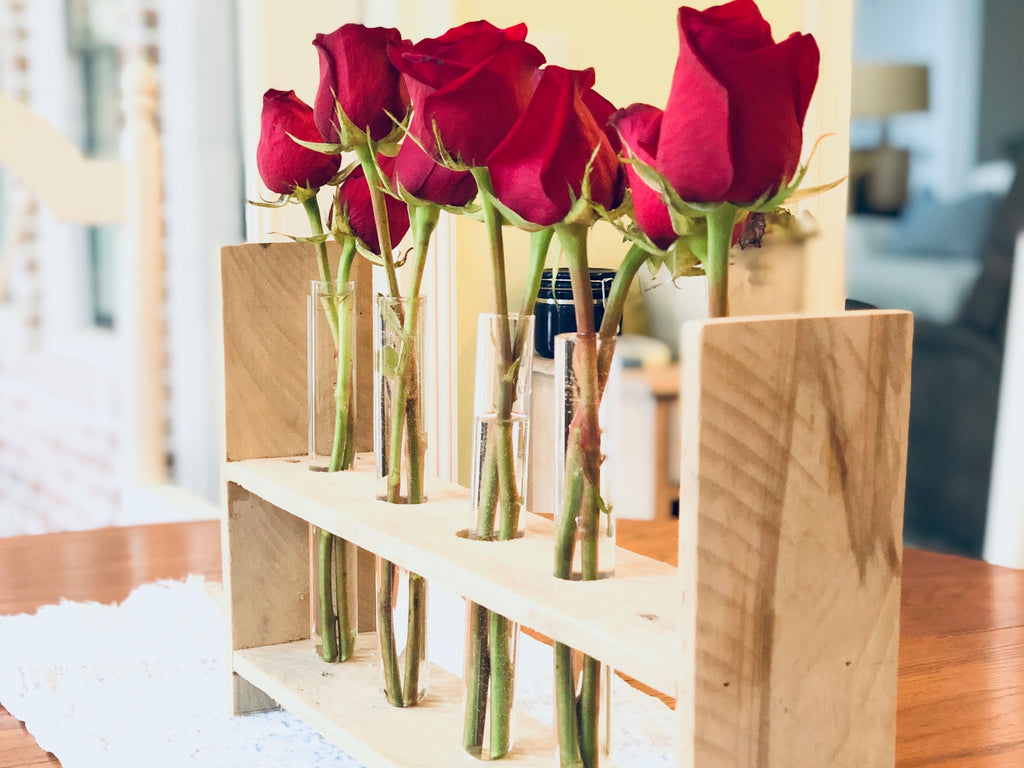
Reclaimed Pallet Wood Centerpiece

The very first project I taught through Chics With Tools was a centerpiece made from pallet wood and test tubes. That was 2 1/2 years ago. I love mine and use it all the time like today, for instance. After a week, my Valentine roses were looking a bit sad so I trimmed off the leaves, the bottom of the stems, and removed some of the browning petals. That made them perfect for this centerpiece.
It dawned on me that I have never shown you how to make one. So here we go.
- Get a pallet. I got mine behind Lowes. The rule is that if the pallet is not in the enclosure, it is free game.
- Take the pallet apart. FYI, it is tremendously difficult, if not impossible to pull the nails out of a pallet. So get a reciprocating saw ( "saws-all") and cut it apart.
- Run the boards through a table saw to get them all the same width

- Choose your pieces. Consider cracks and warping.
- Using coarse sandpaper, give the wood a rough sanding

- If boards are varying thicknesses, use the thickest for the long pieces. Do not use the very ends. The roughness needs to be trimmed off of them.Taking nails into account, measure and mark for length as follows: 2 pieces- 17 ½” and 2 pieces -10”

- Draw a line down the center of the long pieces, length-wise. Mark for holes at the following intervals:
- 1 ¾
- 5 ¼
- 8 ¾
- 12 ¼
- 15 ¾.
- There should be 1 ¾” at both ends.
- Remove nails if desired.
- Cut long boards to length.

- Using a drill or drill press and a spade bit or preferably a Forstner bit, make 1” holes in the top board. Be sure test tubes fit in each hole

- Using the top board as a guide, drill ½ holes only about 1/8” down in the bottom board with a drill.
- Sand rough holes.
- Mark short pieces and cut to 10".
- Lay both short pieces against each other. Using a framing square, draw a line across the width and edges of the short pieces at the same time at 1” and 5”.
- Lay one short piece on its side and connect one long piece at the 5" line. Use glue and a nail gun. Be sure to avoid old nails. Attach the bottom board in the same way.

- Carefully remeasure before attaching the last side

- Add the test tubes and DONE!


WAIT, WAIT, WAIT!
The hardest part of this whole project for sure is taking apart the pallet. So use all of those hard-earned boards to make a whole bunch of centerpieces or for other projects like these boxes.

If you want to gain some more DIY skills, register for a Chics With Tools workshop or private event.


Leave a comment