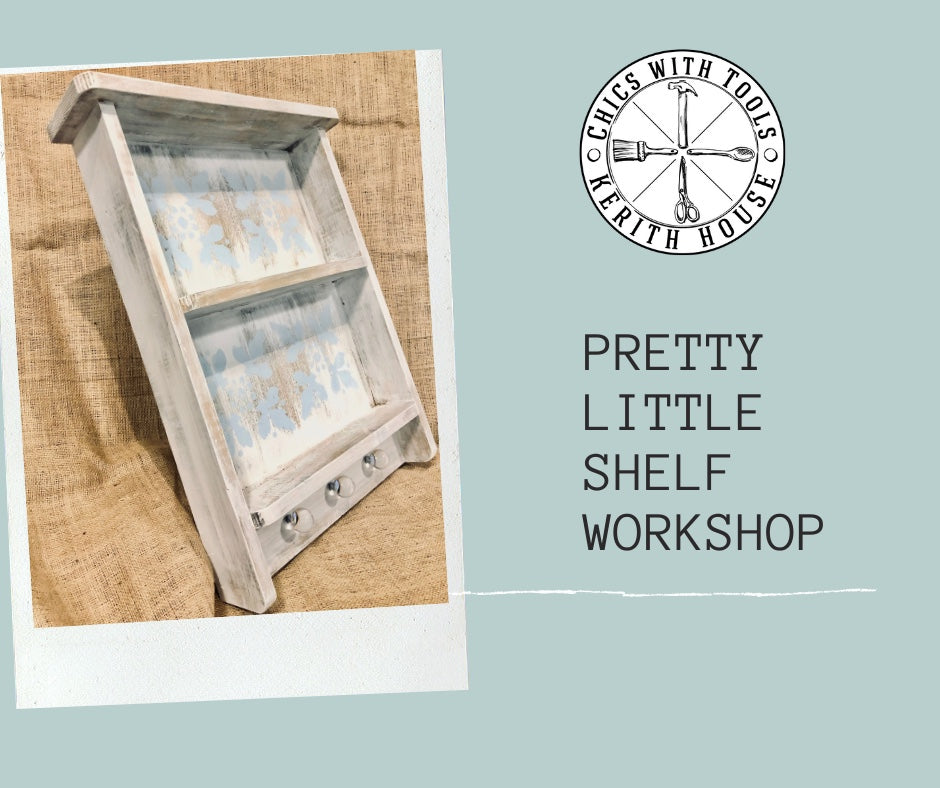
Pretty Little Shelf Workshop

It goes without saying that Covid-19 has put a damper on so many things, including the Chics With Tools Workshops. But this week we hosted two one-on-one sessions to make the May project, mini-wall shelves. This is a great little piece that takes a minimum of time and materials. It works in the bathroom, kitchen, bedroom, wherever. If you want to add a little charm and storage to a space, follow these instructions to give it a try.
INSTRUCTIONS
CUTTING
- On a table saw, trim a 1" x 6" board to 4 1/2" wide.
- On a table saw cut a piece of 1/2" or 3/4" plywood to 16" x 23".
- For the top piece, use the miter saw to cut the 4 1/2" wide piece to 19 1/2" length.
- On the miter saw, cut 1” x 4” board into: 3- 16” pieces and 2-24” pieces
- Using the bandsaw, cut rounded corners on all the boards, except one 16” piece.
- Using the palm sander, sand off any rough edges.
ASSEMBLY
- Using glue and 1” 18-gauge nails, tack the side and top pieces to the ½” plywood.
- Connect the frame pieces to each other at the corners with 1 ½” nails.
- With glue and 1” nails, attach the 16” piece with no curves to the bottom.
- Add the lower shelf to the top of the previous piece with 11/2” nails.
- Mark the sides 9 ½” from the top. Place the top of the remaining shelf in line with the markings and nail from the sides with 1 ½” nails.
- On the bottom 1”x 4”, make markings in the center and 4” to either side. They should be approximately at 4”, 8”, and 12”.
- Drill holes for knobs in the markings.
- Add hanging hardware.
FINISHING
- Using a rag, lightly stain the wood, wiping off excess.
- If desired, add a paint finish using a dry brush technique.
- Add detail with stencils if desired.
- Attach knobs.
NOTE: Once the finish has dried for a day, add a polyurethane finish if desired. There are spray and brush on varieties.
AND TA-DAH! Aren't these so cute? One will be in the master bath housing hairspray, a blow dryer, and other necessities. The other will be in a powder room displaying candles and flowers. The one I made for my daughter many years ago has been home to piggy banks and knick-knacks. So you see, these are super versatile and can be finished to suit any style. Well-done, Ladies!


Leave a comment