Making Beds From Vintage Doors

As I mentioned in a previous post, sometimes you have to make things custom to fit a particular space and purpose. At Century View Lodge, our desire was to have flexible accommodations for different types of groups. To accomplish that, we needed some XL twin beds that could be pushed together to be a king. The problem was that the ceiling height in the Overlook Suite warranted a bed of real stature and dimension. I searched online for hours and could not find anything. Now if I wanted to spend thousands upon thousands I could have come up with something, maybe. Instead I decided it was time for some DIY.
Here is how I made this bed. There are no detailed drawings but you will get the basic idea.
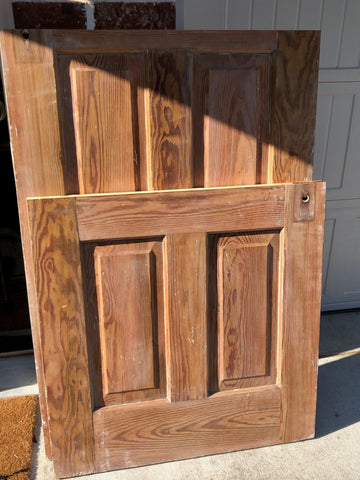
I knew I wanted the bed to have tall paneled head and footboards. The smartest idea seemed to be to start with some old solid wood doors. I headed down to ReUse the Past and found a matching pair for $80.

The problem was that they were covered in lead paint. So I spent hours upon hours carefully stripping them. After finishing that arduous task I had to cut the doors into the head and footboards using a circular saw and straight-edge clamp.

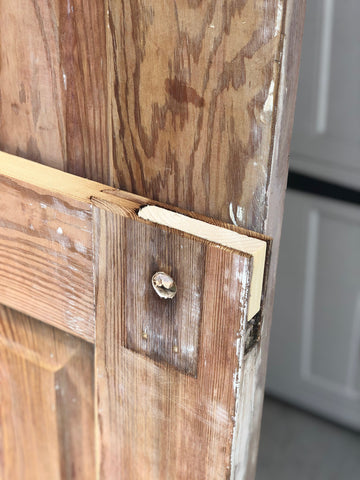
The doors had large cavities where the lock sets had been. So to fill them in I just cut scrap wood to fit inside adding stability.

The doors were narrower than the XL twin mattresses. So to make up the difference I added wood using my Kreg pocket screwing system.

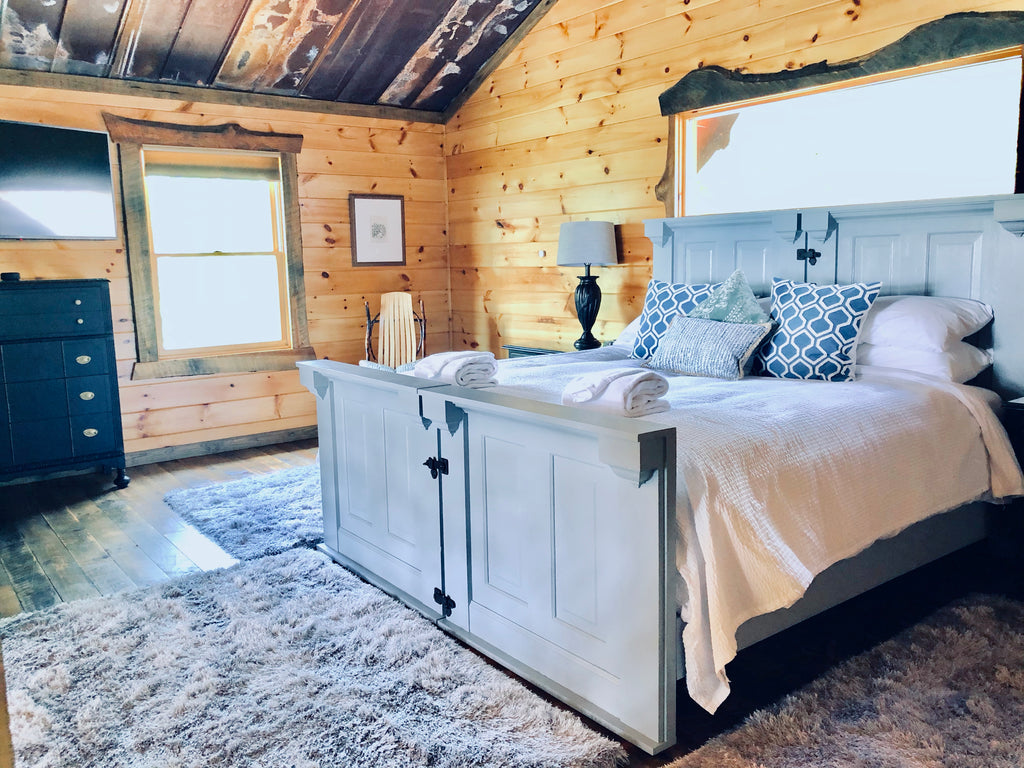
One important detail was that the edges of the head and foot boards needed to be flush so the beds could be pushed together with no gapping. This informed my design. I used some crown moulding and mid moulding blocks for the details along with poplar boards. This gave the bed real dimension, covered up seams where I had added width while still leaving the sides flush.

Finally, I got to the painting. It did seem for a while that this project would never end.

The design of the rail system was a result of wanting to be sure that the mattresses would not want to slide away from each other when in the king configuration. This was solved very simply. The mattress sits on 1"x 4" slats which rest on 2" x 4" nailers. These are attached to the decorative boards you see on the bed. To solve the sliding mattress problem, I made the decorative pieces higher on the outside of the bed than the inside. The lower decorative boards on the inside sit flush with the bed platform allowing the mattresses to be pushed tightly together. The outside boards sit about an inch above the platform creating a lip that holds the mattresses in place. (No, this diagram is not to scale but you get the gist.)

I used angle braces to attach the rails to the head and footboards. Latches from the Shipshewana Flea Market in Indiana added a decorative touch while holding the beds together. To make it easier to move the beds, I also added some ball-bearing casters, at the hubs suggestion.

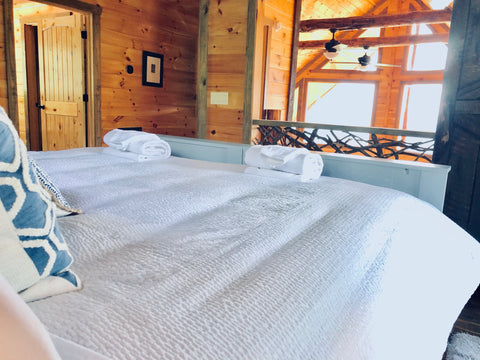
After layering the twin mattress pads, "bed bridge mattress connector", king mattress pad, crisp sheets, comfy duvet, hotel-style top sheet, and feather pillows, this bed went from a DIY project to absolute luxury. Totally worth it!


Leave a comment