Helping Family Members Downsize-The Dining Room
It's totally normal to have a lot of stuff, right? After all, we are Americans. For better or for worse, we are massive consumers. Just look at the number of storage facilities there are dotting the landscape. But there comes a time when we have to part with our belongings, usually because we are downsizing. Sometimes the task of saying goodbye to possessions is harder than others. This article is the third in my series of helping my dad sort through his house after the passing of my mom.
Dad called a few months ago just overwhelmed at the stuff to go through in our childhood home. The space that was the most confounding to him was the dining room. Why? Because this definitely had been Mom's domain. What was he supposed to do with all of these dishes they had purchased and pieces that had been passed down through the generations? It was clear he needed help.
Disclaimer: As I have mentioned before, Dad and I are very similar when it comes to what to keep and what to pass on. So working with him is very easy. I realize that is certainly not the case for many of you. I count myself very fortunate. Plus he is an awesome dad.
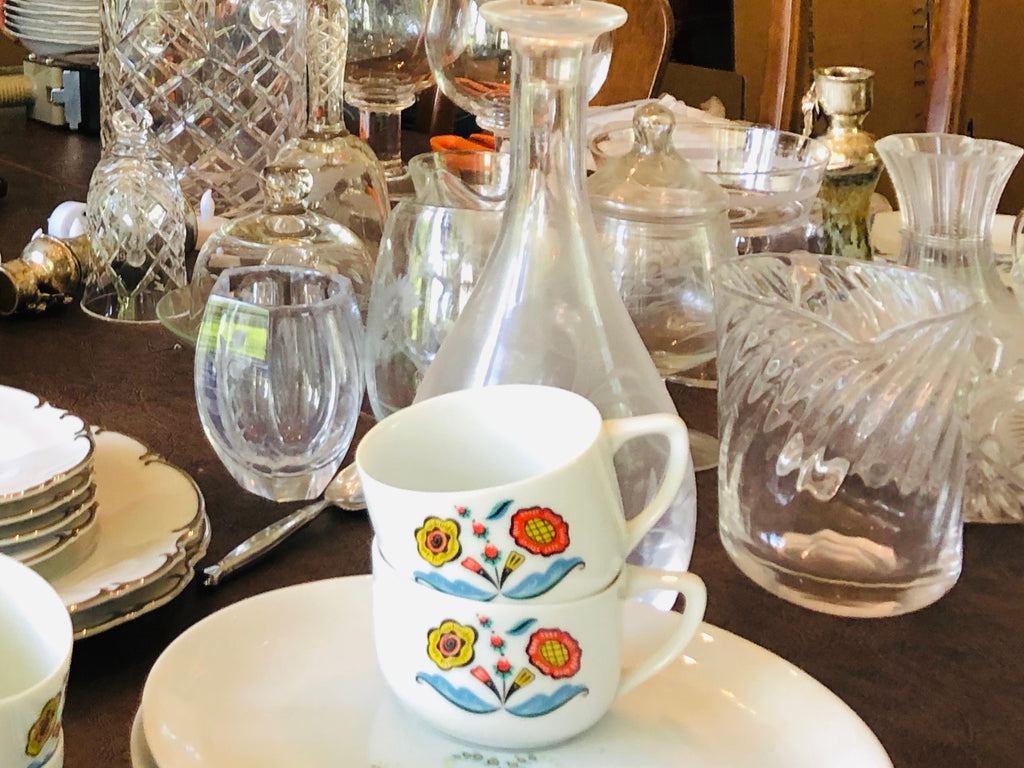
Unlike the previous areas of the garage and home office, the dining room was loaded with treasures. Mom loved beautiful things that held more memories than value. They reflected friendships, our Norwegian heritage, our time in Korea, and love of family. So disbursing these items required finesse, not a dumpster.

Note: To disburse goods that have sentimental or monetary value, it’s preferable that the owners bequeath these things so there is no debating about who gets what. We had hoped that Mom had made a list. We found one but it had very little on it so it was up to us to divide things amongst the four of us children, leaving Dad with what he truly wanted and needed.
Since we were basically on our own, with input from Dad, and we live in four states, here is how we went about downsizing the dining room and it's an easy system for you to replicate.
1. Stock Up
Gather boxes and be sure to get ones that are reasonably sized. If they are too big you won't be able to lift them. Don't forget the packing tape and wrapping materials. We got a lot of ours at Home Depot but we were fortunate that in Dad's town there was a used box place.

2. Get Organized
Mom had whole sets of glasses, dishes, and flatware but she also had a lot of single items. So I tried to make some logical sets, like etched glass, instead of listing every single thing. (I have to admit, though, that most sets ended up being divided.) We had a lot of odd serving pieces like Korean spoons and Norwegian heirlooms so I tried to divide up the treasures into several sets so every sibling had the opportunity to get something special.

3. Take Photos
This took a bit of time but was very important. I used the photos for the catalog (more about that in a minute) as well as to make photo labels for the boxes. The pictures do not need to be perfect. They are simply to help trigger memories.

4. Start Packing
To get things out of the way, box what you can. If you have large sets of things like dishes and glasses, go ahead and pack those up. For the mixed sets, loosely put them in a box but don't bother packing or closing them in case things get divided or you want to add more to the box. Even though I put labels on the boxes, I could still remove them and put them on other boxes.

5. Catalog Everything
After I organized everything I made a Google Doc Catalog. Not every sibling used Google, however, so I emailed it to them too. But when the actual online document was used it was so helpful.
|
# |
PHOTO |
DESCRIPTION |
COMMENTS |
NAME |
DATE |
|
|
|
|
|
|
|
|
|
|
|
|
|
|
About the Spread Sheet:
- Using a number made items easy to find.
- The description tells what the item is and includes the quantity, and maker.
- The comment section is the place for any stories related to the items or their origins.
- The name can either be that of the person who wants the item or the one to whom an item has been bequeathed.
- The date is useful if more than one person wants an item and you are going on a first-come, first-serve basis.
6. Limit Time
This is really key. If you don't have a short window of time, the process will drag out forever. I only had a week with Dad so I knew I had to get everything done quickly. It took 2 1/2 days to photo and catalog the dining room. (Mom had lots of pretty things.) So, in my case, Monday afternoon, I posted the catalog. Then, my siblings, nieces, and nephews had two to three days to claim things.
As people chose items, I started rearranging and filling boxes for them.

I finished packing up all the boxes on Thursday and we made all the deliveries we could on Friday. We had a delivery schedule for the rest.
7. Think Ahead
Sometimes relatives, especially the grandkids, may not be thinking ahead that they want something that belonged to their grandparents. So just in case, hand-pick some items for those that don't make any choices unless of course, they clearly say, "I don't want anything!". The last thing you want is hard feelings and regrets.
8. Keep Joy
Even though we were doing a massive clean-out, we wanted Dad to still feel like it was his home. So, we put things back in the China cabinet that he needed and that brought him joy. They happened to be things Mom did not have on display. I can't tell you how much better he felt when we got finished.(He's so cute, isn't he?)

That's as far as we have gotten. But this most recent purge really helped ignite Dad's drive to get some other things done. I will keep you posted when we do the next purge.
Leave a comment