Garden Wranglers

How are your tomatoes growing? For years we have attempted to raise them but with marginal success and sometimes downright failure. One of the pain points has actually been keeping our plants from overgrowing their cages. Let's face it, those metal things only work to a point.
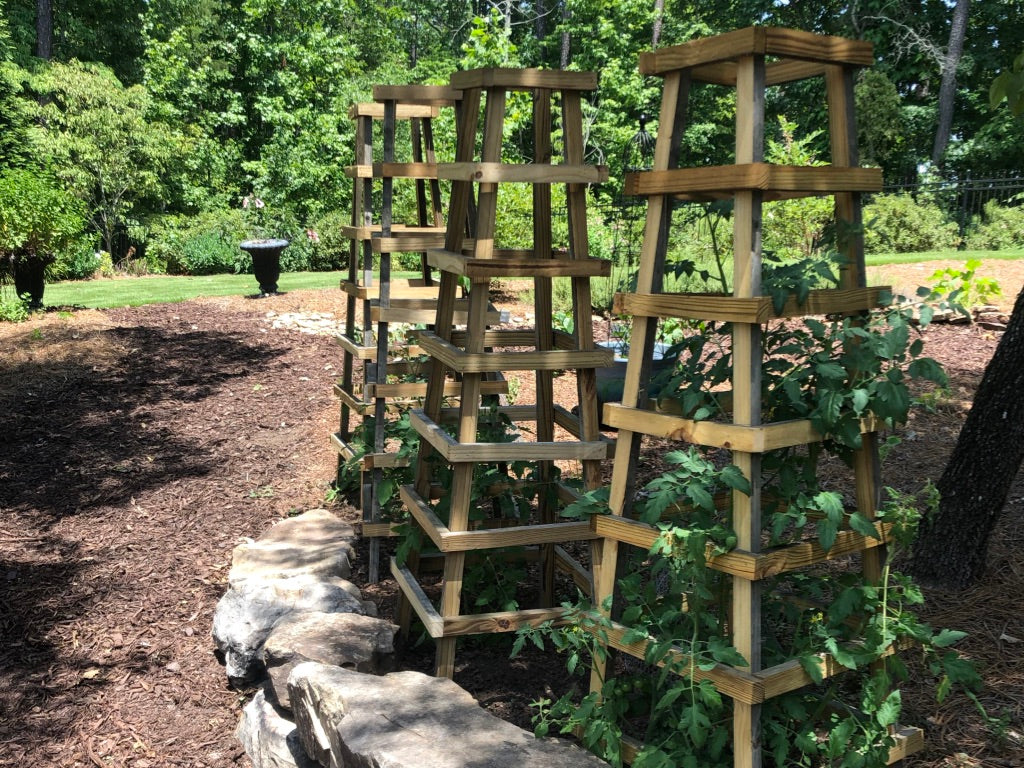
A couple of years ago we invested in some taller, sturdier, and of course, more costly, wooden structures. But as expected, they have aged and are getting wobbly. In addition, they are still a bit too lightweight since last year I had to string them to a tree to keep them vertical.
I still may not have decided to make my own, especially with the cost of lumber these days, except that we have a plethora of old fencing that we removed from our farm in Blue Ridge. Pressure treated and free? The perfect combination!

As a caveat, these are tomato cages, not fine furniture. But they are sturdy and do the job. If you want to make some, here is how to go about it.
Supplies
- 1" x 2"'s or lumber that can be ripped down to that size
- Nail gun
- Table saw
- Miter saw
Instructions
- First, if your lumber is larger than a 1" x 2", rip down larger wood to about that size. I had 1"x 6" boards so I got four pieces after cutting off the damaged edges.

- Cut 4 pieces to the desired height. I chose 5'.
- Then using a miter saw, cut the ends on the sharpest angle your machine will allow.

- Decide how far apart you want your cross (horizontal) pieces. Mine are 8" so I will use that as the example.
- Lay all four legs together and mark them every 8". Flip them over and do the same.

- Lay two of your pieces down on the floor or work table at an angle that is pleasing to you and also will function well.
- Measure the distance from outside to outside at each marking and make notes. Each cross piece will be those measurements plus the thickness of your cross pieces.
- Cut four of each size.

- Nail each set together like picture frames, using butt joints at the corners.

- Once all of the frames are built, stand them on edge, in order of size and slide all four vertical pieces through them.

- Put all of the frames in their approximate positions.


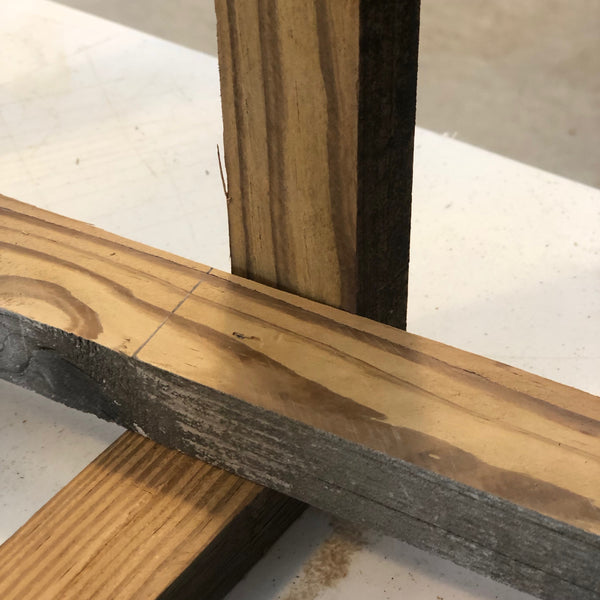
- Starting with the two legs on the table, tack the frames to the legs using 2" or 2 1/2" nails, depending on the thickness of your wood. Only put one tack at each joint so the wood can move. Turn the frame over and tack the other two legs into the remaining corners.

- Stand the whole unit up and adjust for symmetry. Then nail each joint with at least four nails to make it all stable. There will be gaps because it is an angular piece but we have not cut many angles. We are about simplicity here. Embrace the imperfect!

But look how pretty they are! In addition, these are sturdy enough to last several years! Now I just need to learn how to grow the tomatoes!

Leave a comment